
A surefire way to get instant attention for your work is to remix reality with some editing magic. Now Lightroom is the equivalent of coins and card tricks, it’s wonderful for polishing and toning photos, yet doesn’t allow you to combine two or more images like grand master illusionist Photoshop does. But if you still find Photoshop daunting, I’ve put together the easiest and most effective techniques that are achievable for everyone. It’s a wonderful tool for creative expression and opens up a whole new world of possibility.
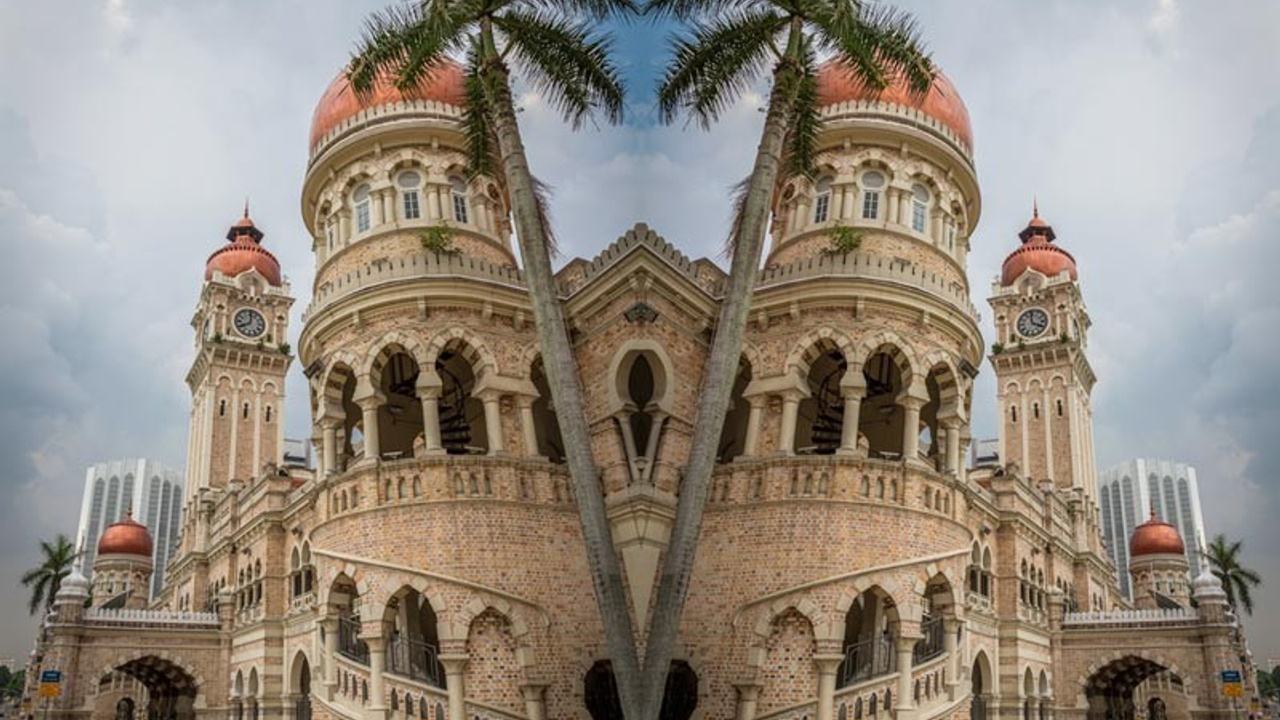
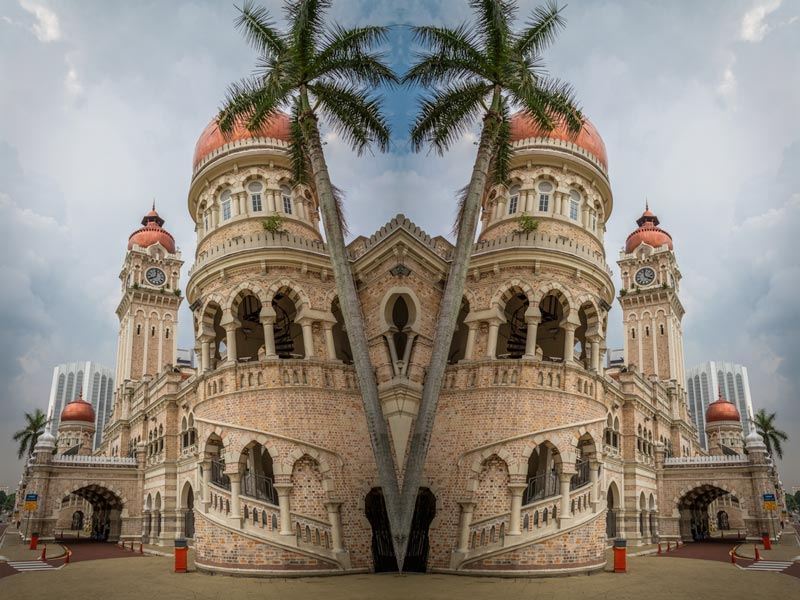
Mirror an image
Mirroring an image is the simplest way to mess with the mind and it creates a pleasing symmetry which is one of the fundamental rules of art theory.
Easily done by simply making a copy of your main layer in Photoshop (Ctrl/Cmd J) and then going to Edit>Transform>Flip … and choosing whichever direction you fancy. Load the crop tool (c) and pull out the handles to create some space for this new layer and use (v) to reposition it.
Double exposure
Double exposures are a fantastic way to tell stories through the juxtaposition of two different images (these can be anything, but I prefer one portrait and one landscape) and it’s real easy to do.
Simply open two images as layers and then experiment with the blend modes, found under the dropdown box ‘normal’ in the Layers panel. There’s all sorts of ways to get fancy with this technique, but for beginners these two easy steps will still help you create something interesting.
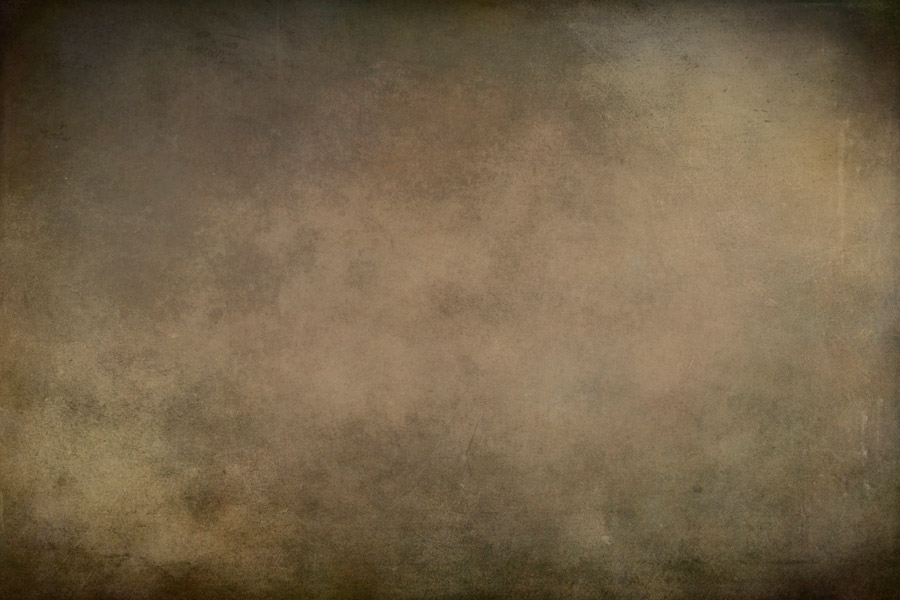
Texture
Literally the same technique as above, but instead of your second image being something recognisable, instead use a picture of a texture. This gives your images a tactile nature and fine-art feel and is super fun to experiment with to see what you can create. If you don’t have any textures on hand, grab any photo and blur it out of recognition with Filter>Blur>Gaussian Blur. Then experiment with the blend modes to see how the colours interact.
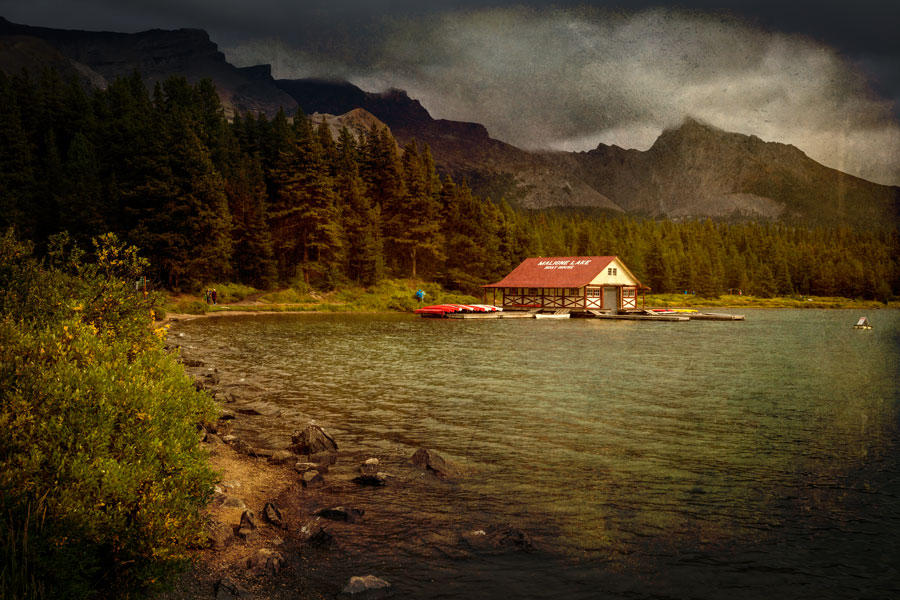
Spherize
Love the look of glass ball images but don’t have one of your own. Photoshop to the rescue! With a little distortion you replicate the effect on any old image.
First, make a duplicate of your background layer with Ctrl/Cmd J. Choose the Elliptical Marquee Tool and make sure the Style is set to 'Fixed Ratio' in the options bar. Draw a round selection in the centre of your image.
Go to Filter>Distort>Spherize and leave the settings at 100.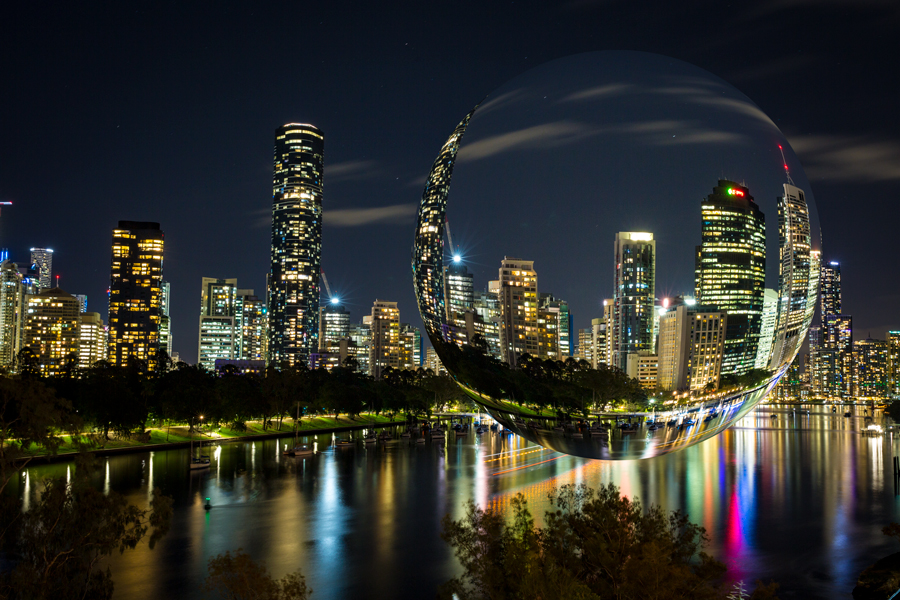
It really shouldn’t be this easy!
Harris Shutter
The Harris Shutter effect creates a trippy glitch effect that instantly makes any photo interesting.
Simply open your chosen image in Photoshop and create two copies of it by pressing Ctrl/Cmd J twice. Double click the blank part of the layer for the top copy to open the Layer Styles dialogue box. Find where it says ‘Channels’ and untick the left box. Hit OK. Do the same with the middle layer but this time untick the middle box. And then the same with the bottom layer and untick the right box. Select the top layer and load the move tool with v. Use your keyboard’s arrow keys to nudge it to the left. Then select the bottom layer and use your keyboard’s arrow keys to nudge it to the right.

Yeah baby!
Join Creative Photo Folk to learn the specifics of creating these techniques and sign up for Photoshop here.
Go forth and create
